
At the beauty shop
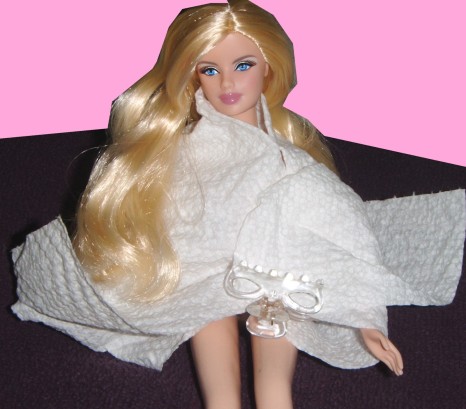
So this lovely lady had an appointment with me today to get her hair cut in order to begin her transformation into a custom Barbie. I ended up lopping off 3 inches, which translates to 18 inches for a 1:1 scale woman.

I used the tutorial at Dolls-N-Daggers. I’m not sure where that site has gone. It is so helpful! Below are the steps I followed from Valkyrie’s “Tips and Tricks for Doll Hair.”
Cutting the hair:
–You need to start with clean straight hair, see above…. *grin*
–You’ll want a tail comb, water bottle, hair clips and a sharp pair of scissors with short blades (no more than 4″).
–It’s MUCH easier to fix a haircut you’ve left too long than to re-root the entire head because you’ve cut it too short!
–A pair of thinning shears is a remarkably useful tool – human hair breaks/splits/thins as it grows out, doll hair, of course, does not. Thick ends are something humans strive for, but quickly become awkward when the hair is only a couple inches long.Shoulder Cut – or – How to Even the Ends
–We’re going to start ‘easy’ with a shoulder length straight cut
–Decide where on the back you want the hair to fall
–Pull all of the hair up into a high ponytail and secure with the hair clip
–Keep the head upright and even
–Use the tail of the tail comb to separate out a thin section from the base of the neck
–Spray it down with water and comb it straight down holding it between the index and middle fingers of your left hand
–Hold your fingers parallel to the floor and drag them down the hair to just past where you want the hair to fall after it’s cut
–Cut the hair just above your fingers
–Using the tail comb pull down another this section and wet it down
–Comb all of the ‘down’ hair between your fingers and pull them down until the first section cut just slips out and cut the second section
–Continue cutting thin sections of hair combing it all straight back until you’ve finished the head.
–Now then – Start with the head upright and even and comb the hair straight down from a center part – you’ll have two straight sides and a back section. – The back section will look great, the sides will be a bit ragged.
–Turn the doll’s head so that it’s in profile to you
–Bring that side of the head up into a high ponytail
–Use the tail of the tail comb to separate out a thin section of the hair
–Comb it between your fingers with a small section of the ‘back’
–With your fingers either parallel to the floor or slanted as you choose pull your fingers to the point where the back section just slips out and cut the section you’re still holding just above your fingers.
–Repeat from [asterisk] and do the other side in the same way.
–No [panicking] – I know that sounded on the complicated side – but once you’ve done it you’ll discover it’s quite easy!


I have sad news to pass on. It has been over a year since the owner of the site passed away. She was an amazingly generous woman, and I am grateful that I downloaded the PDFs of her amazing customizing tutorial (the elf one). So much good advice, and her work was stunningly lovely.
More information can be found here (this is how I learned the sad news):
http://milkshakemelody.com/figurvore/index.php?topic=2887.0
October 2, 2015 at 1:48 pm
I’m so sorry to hear that. Thank you for letting me know.
She was so young. This is really sad.
Her tutorials are awesome, and she was amazingly kind and generous to me in email.
Really, really saddened to hear this, but I’m so grateful you replied to let us know.
October 3, 2015 at 2:07 am